Adding Google Analytics to your Shopify store is essential for tracking and analysing visitor behaviour, traffic sources, and other vital metrics. This guide will help you add Google Analytics to your Shopify store and ensure it’s working correctly.
Goal: To add Google Analytics to a Shopify store and verify that it is working properly.
Ideal Outcome: Google Analytics is properly added without any technical issues.
Prerequisites or Requirements: None.
Importance: Google Analytics is the most popular tool for measuring website data and gathering visitor insights. With it, you will be able to know the amount of traffic you are getting, and how your visitors are behaving inside your website.
Where: In Shopify’s Admin Panel and Google Analytics.
When: Only once—the first time you install Google Analytics.
Who: The person responsible for website management or analytics.
SOP Update: Google Analytics 4
On July 1, 2023, standard Universal Analytics properties will no longer process data. You’ll be able to see your Universal Analytics reports for a period of time after July 1, 2023. However, new data will only flow into Google Analytics 4 properties.
If you’re using a Google Analytics 4 property, follow the SOP highlighted in Add Google Analytics 4 tracking code to your Shopify Store.
Create and Set Up a Google Analytics Account
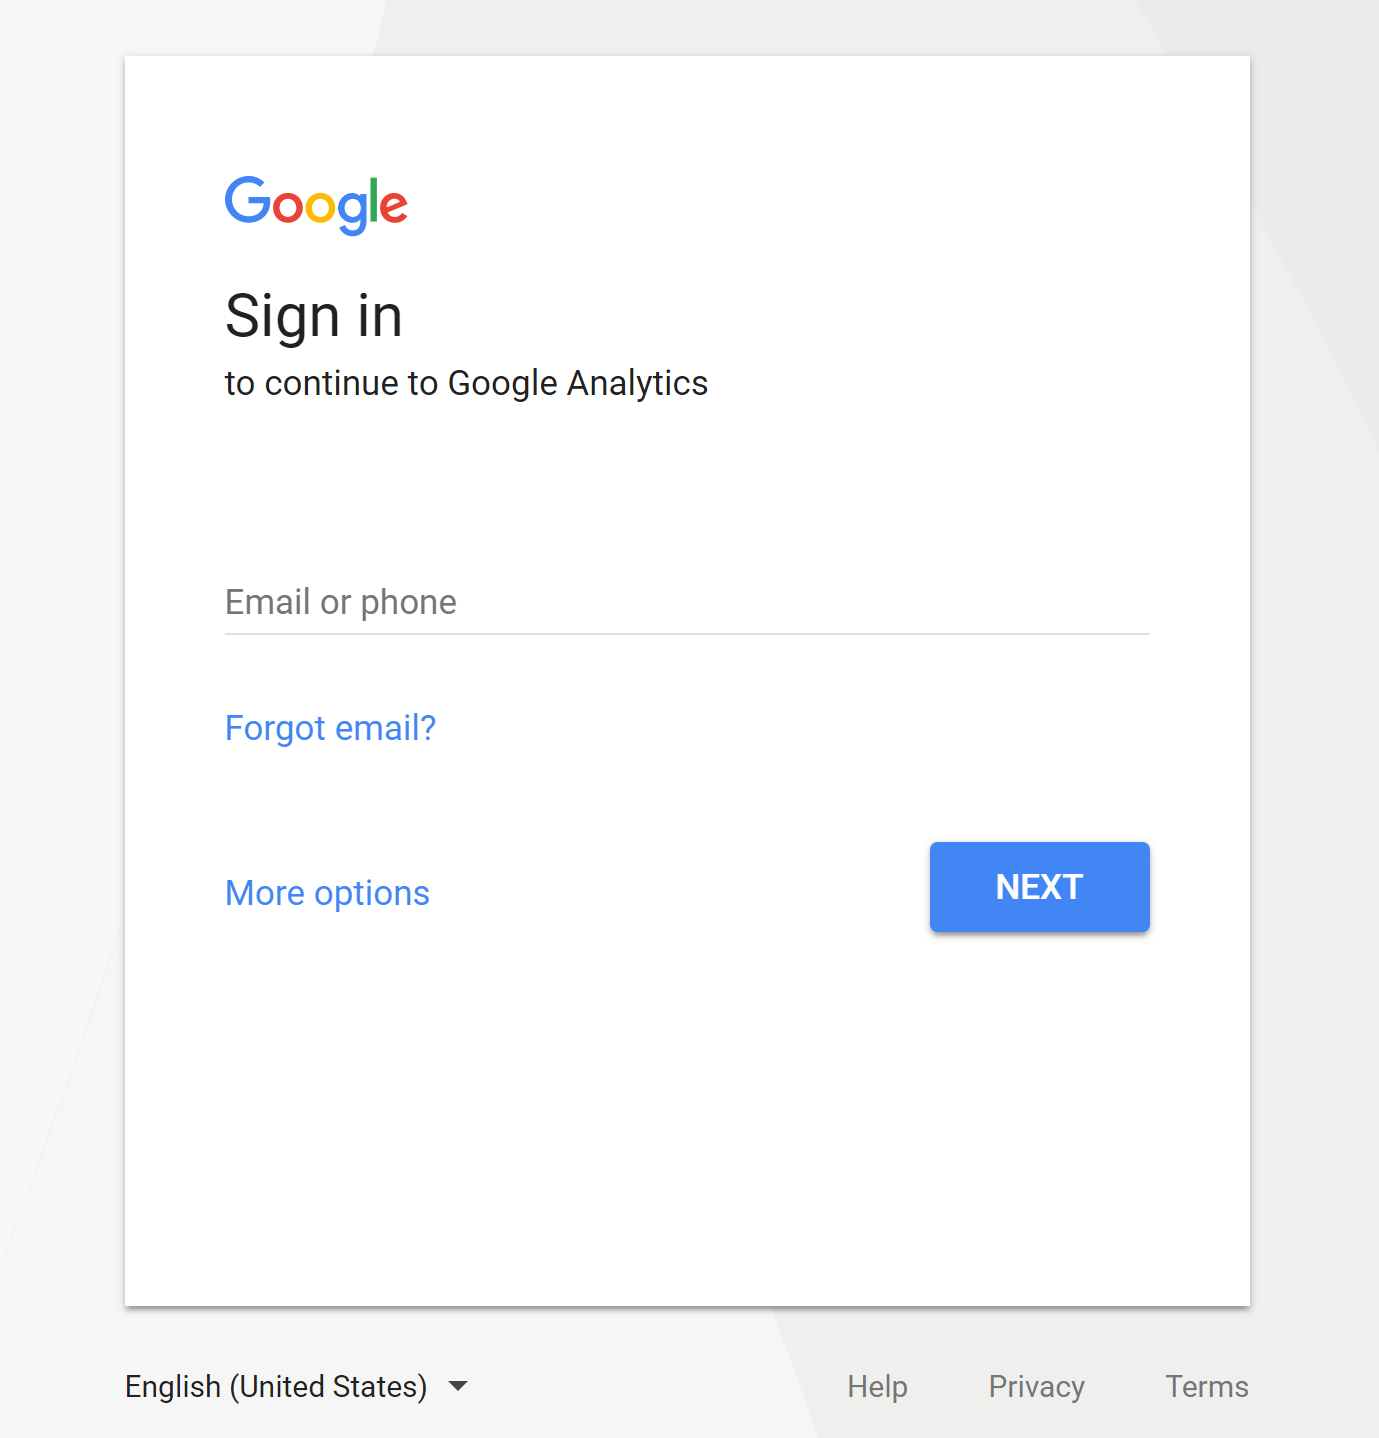
- Go to Google Analytics
- If you are not logged in to your Google account, you will be prompted to log in.
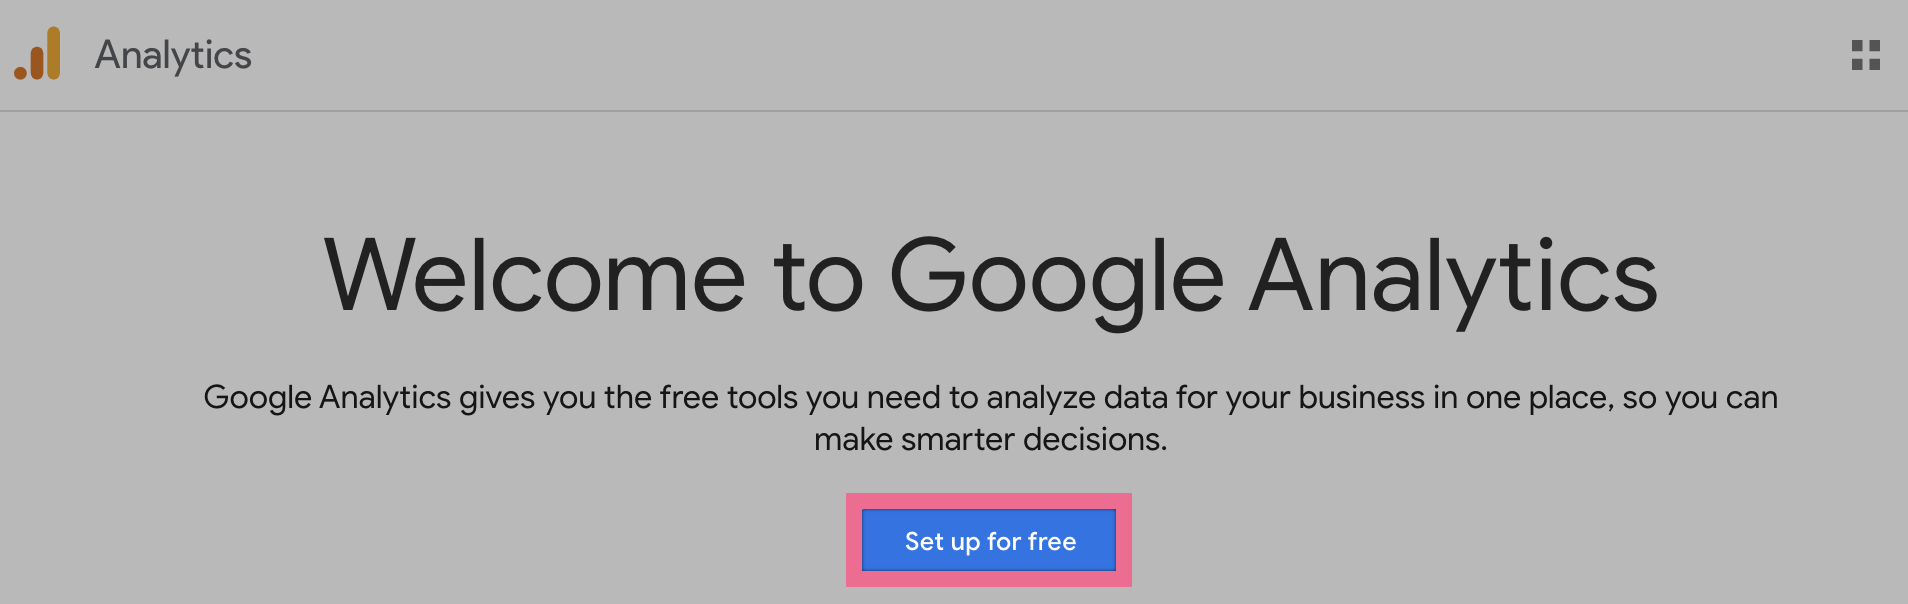
- Create a New Account
- If you don’t have a Google Analytics account, click “Sign Up”.
- Fill in information about your website:
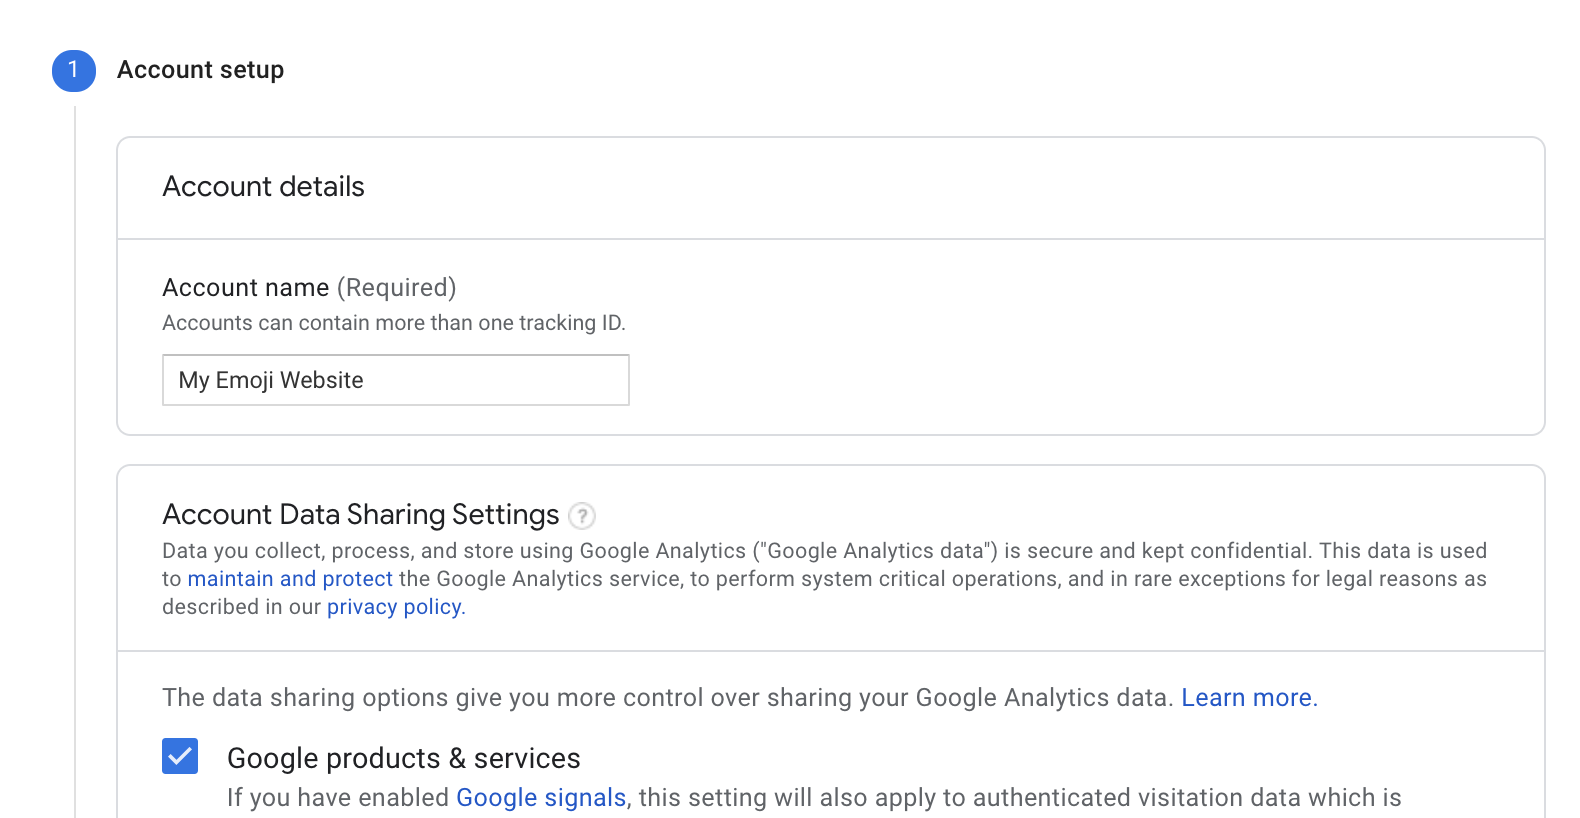
- Account Name: A name that applies to all websites if you manage multiple, or your website/business name if you have one site.
- Account Data Sharing Settings: Optional settings.
- Set Up Property
- Property Name: A name that identifies your website.
- Reporting Time Zone: The time zone for your reporting, usually where most of your visitors are located.
- Currency: The currency your website uses if it handles transactions.
- Show Advanced Options
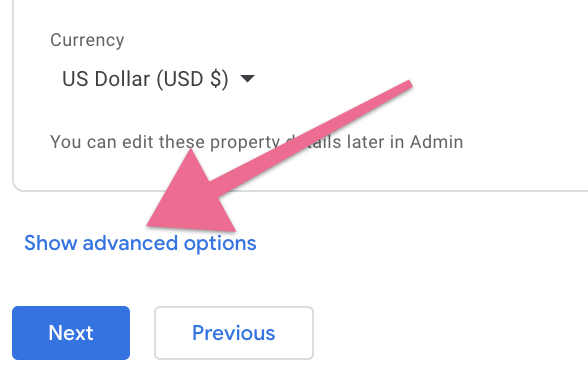
- Click “Create a Universal Analytics property” and enter:
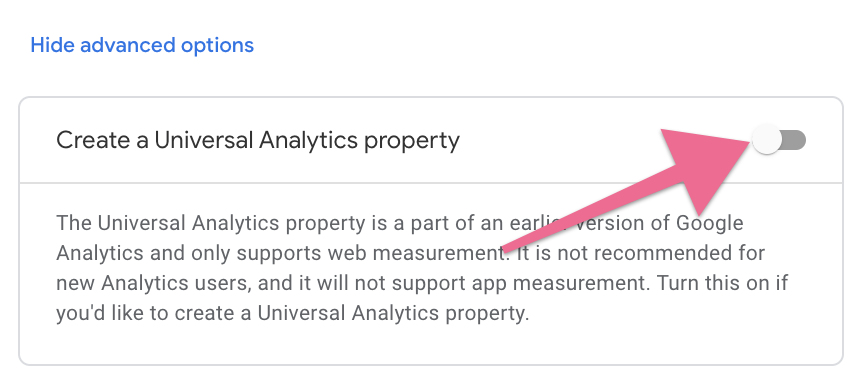
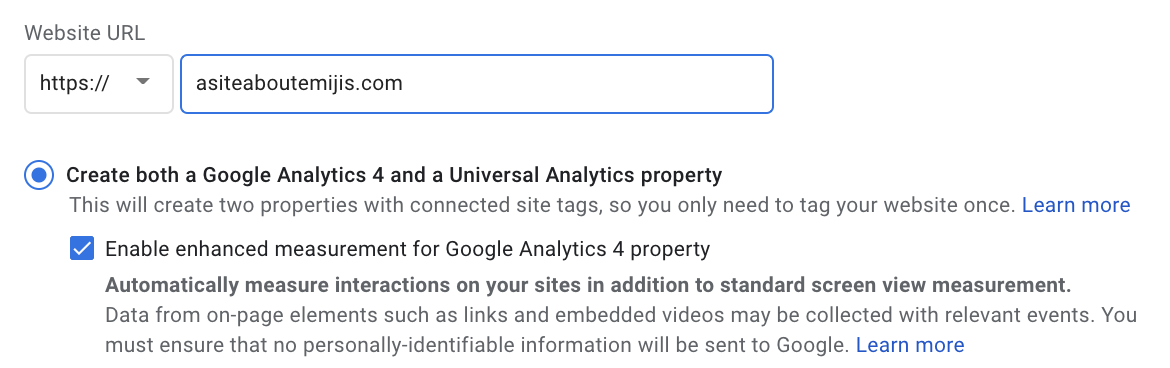
- Website URL: Ensure you select the correct protocol (http:// or https://).
- Create both a Google Analytics 4 and a Universal Analytics property: Select this option.
- Enable enhanced measurement for Google Analytics property: Yes.
- Industry Category / Business Size / How do you intend to use Google Analytics: Select applicable options.
- Create Account
- Scroll down and click “Create”.
- Accept the Terms & Conditions.
- Note your Universal Analytics tracking ID (UA- prefix).
Adding Your First Views
- Default Views
- You will have one view named “All Website Data”.
- Create Additional Views
- Main View: For your main analysis.
- Staging View: For testing new settings.
- Unfiltered View: Untouched, all data.
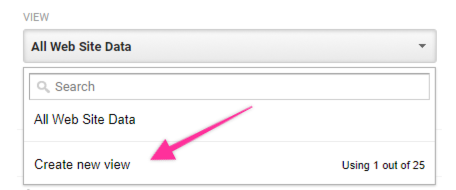
- Add Views
- Go to your Google Analytics Admin page.


- Under “View”, click the dropdown box and select “Create a new view”.
- Fill in view details, ensuring the reporting time zone matches the other views.

- Rename the original view to “Main View”.

Enable Ecommerce and Enhanced Ecommerce Tracking
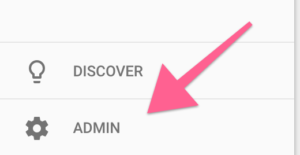
- Enable Settings
- Inside Google Analytics, click “Admin”.
- Ensure the correct Account, Property, and View are selected.
- Click “E-commerce Settings”.
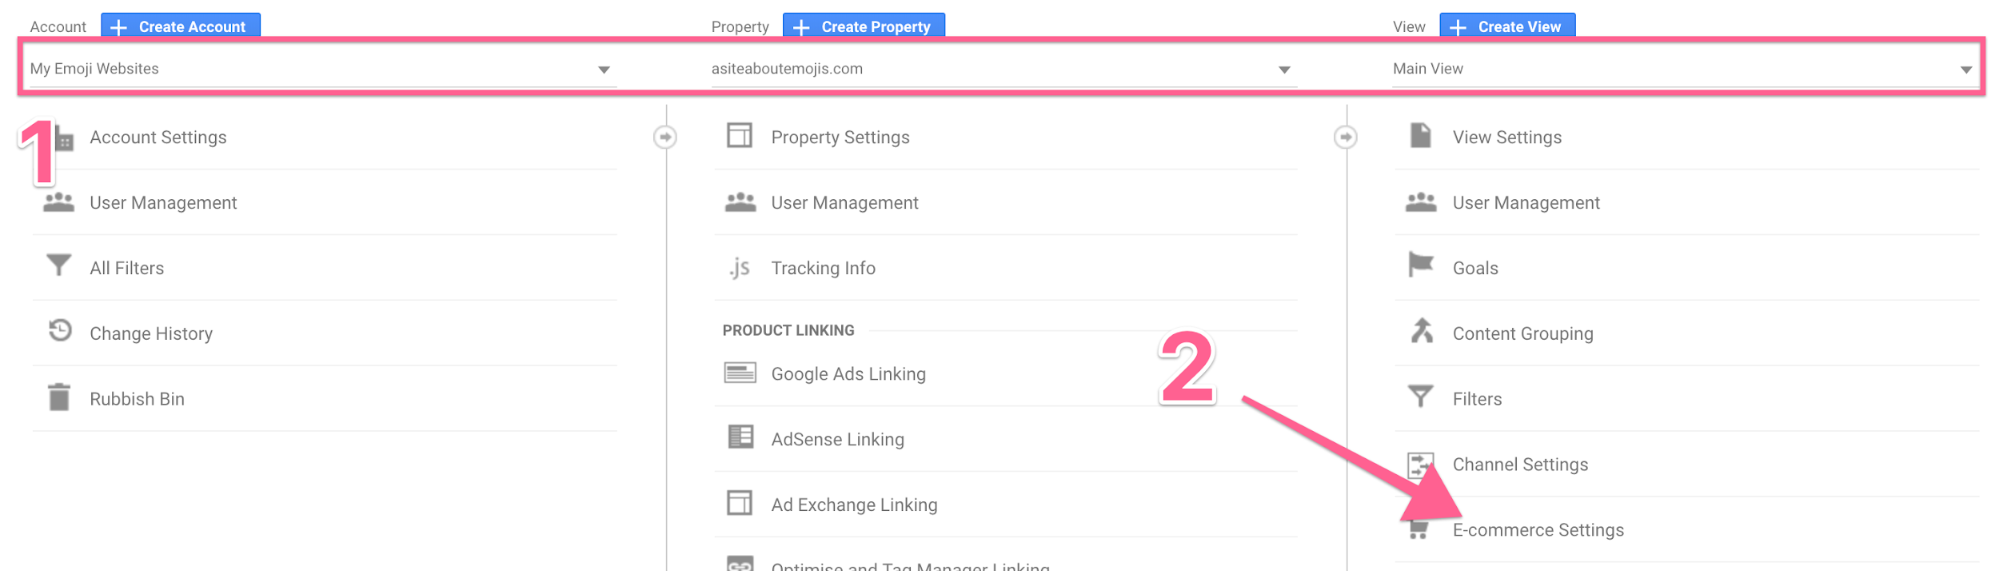
- Toggle “Enable E-commerce” and “Enable Enhanced Ecommerce Reporting”.
- Click ‘Save’.

Adding the Google Analytics Tracking Script to Your Shopify Store
- Shopify Admin Panel
- Click “Online Store” → “Preferences”.
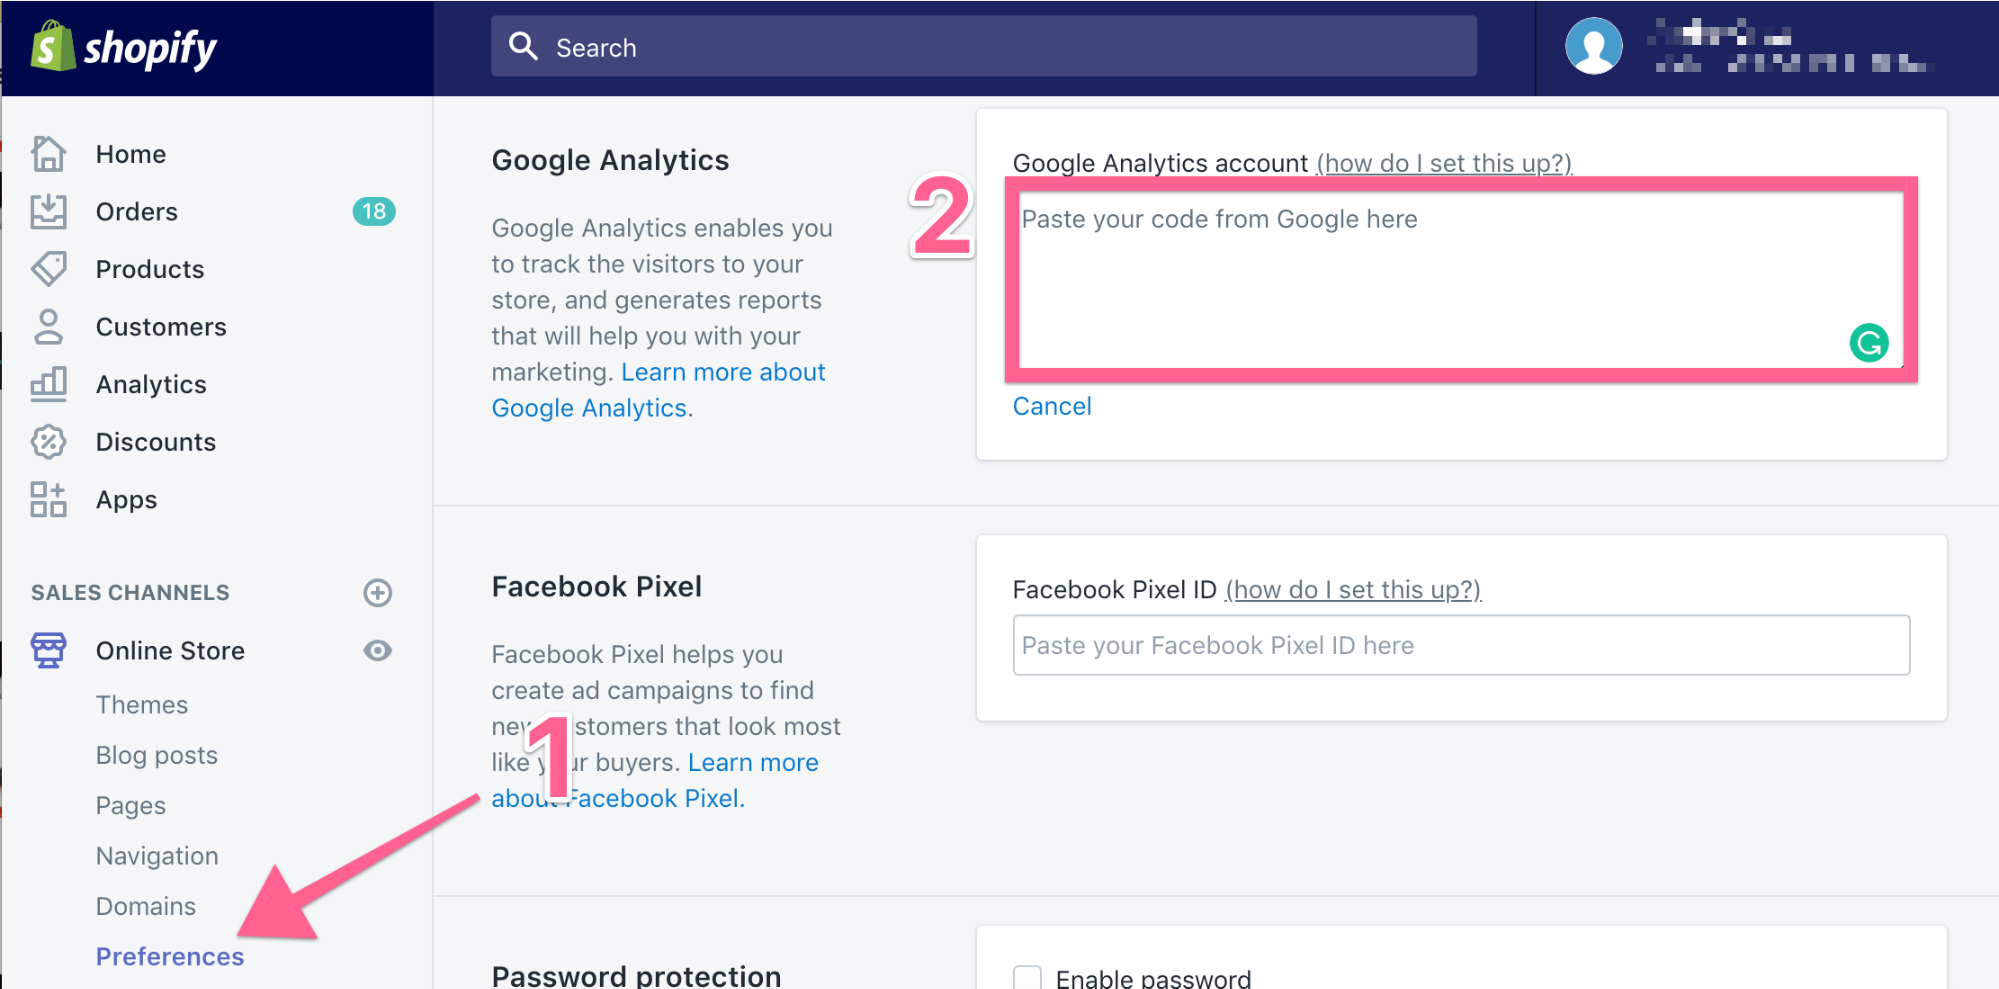
- Enter your Google Analytics tracking code and click “Save”.
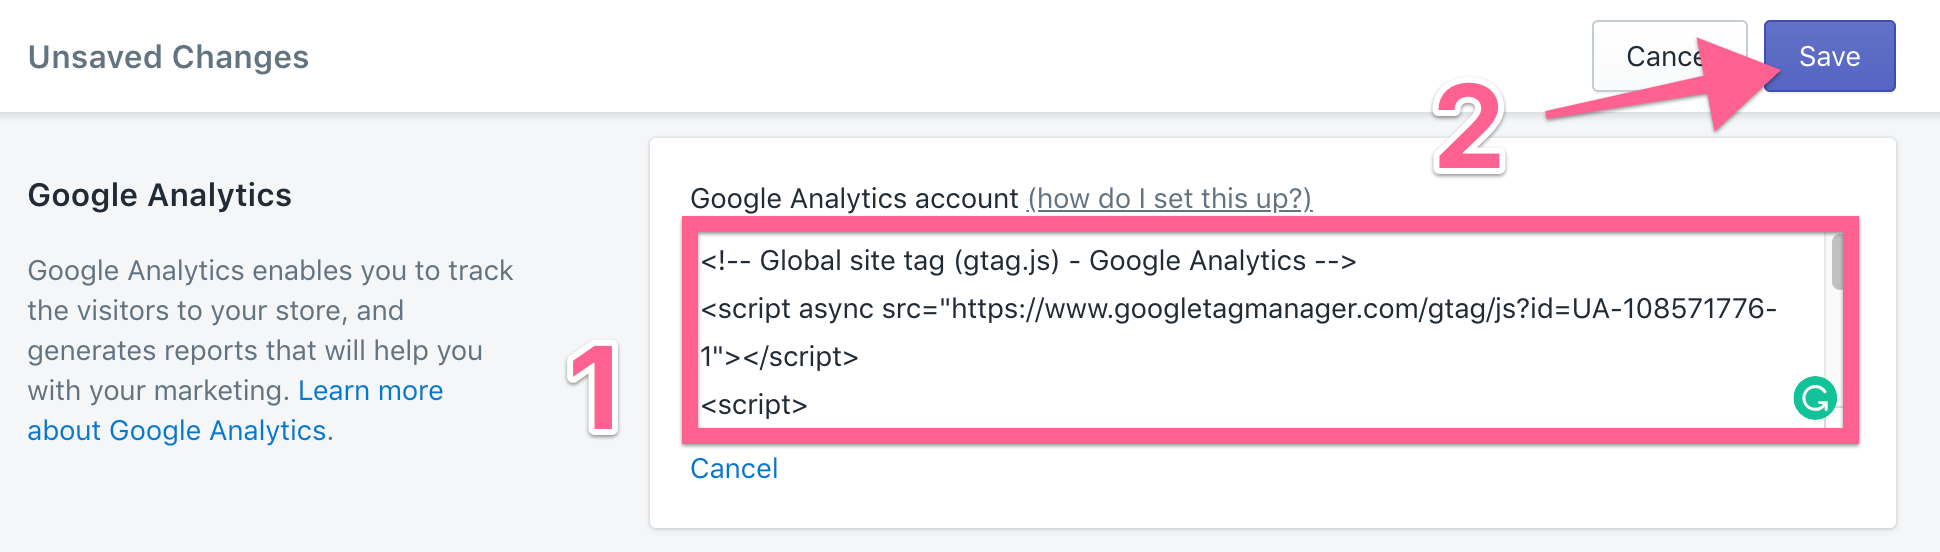
- Tick “Use Enhanced Ecommerce” and click “Save” again.

Add Google Analytics 4 Tracking Code to Your Shopify Store
Retrieve Google Analytics 4 Tracking Code
- Google Analytics 4 Account
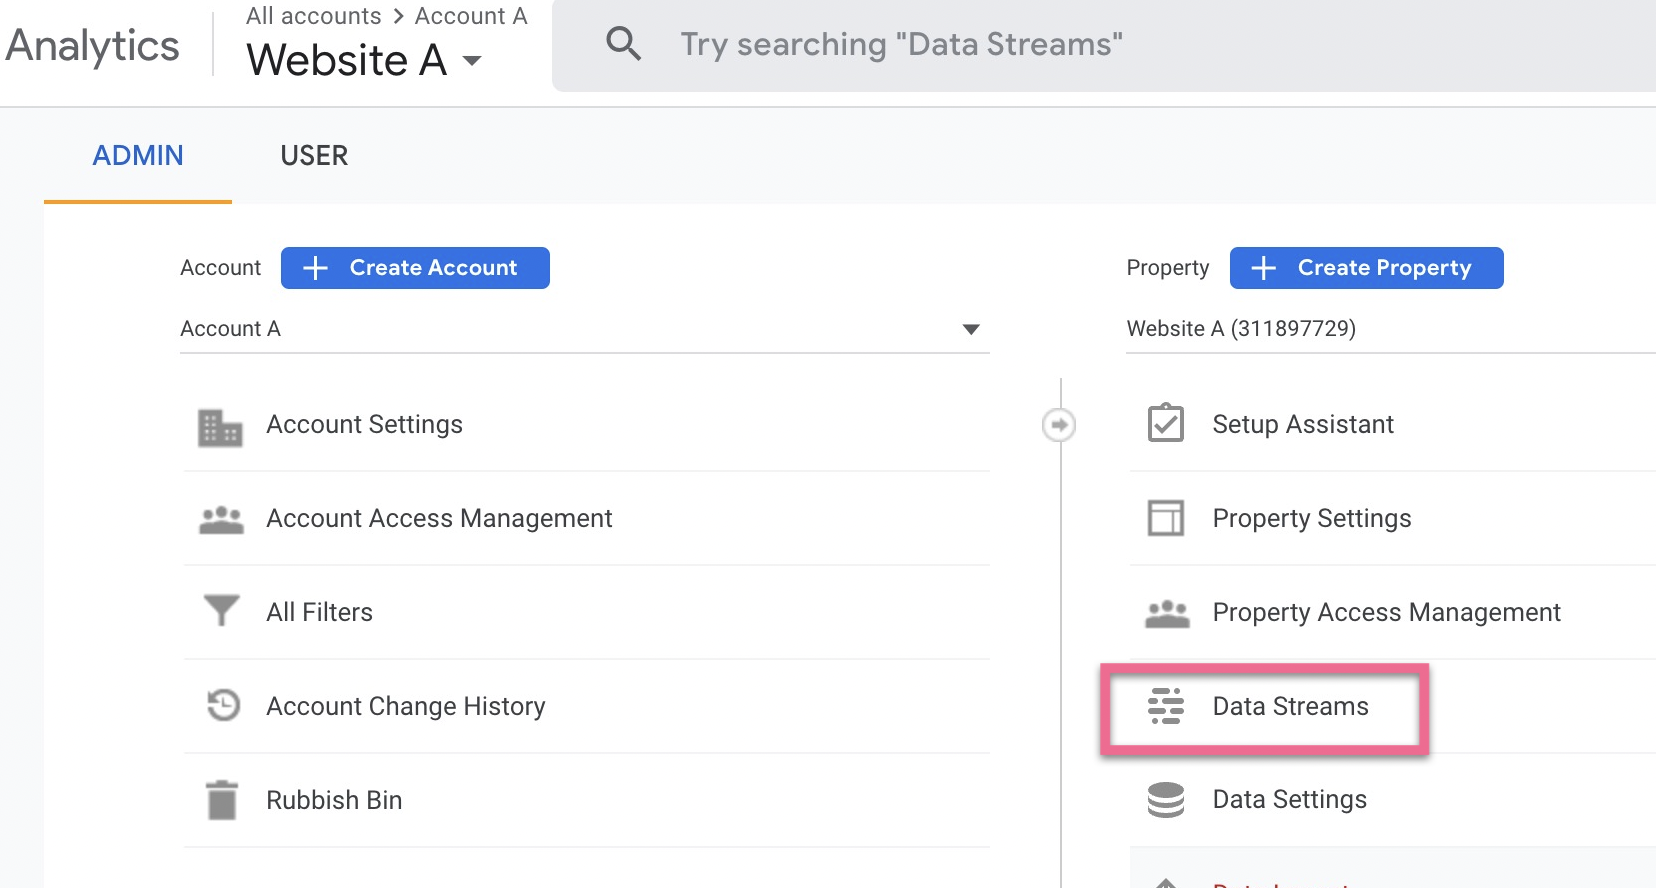
- Login and click “Admin”.
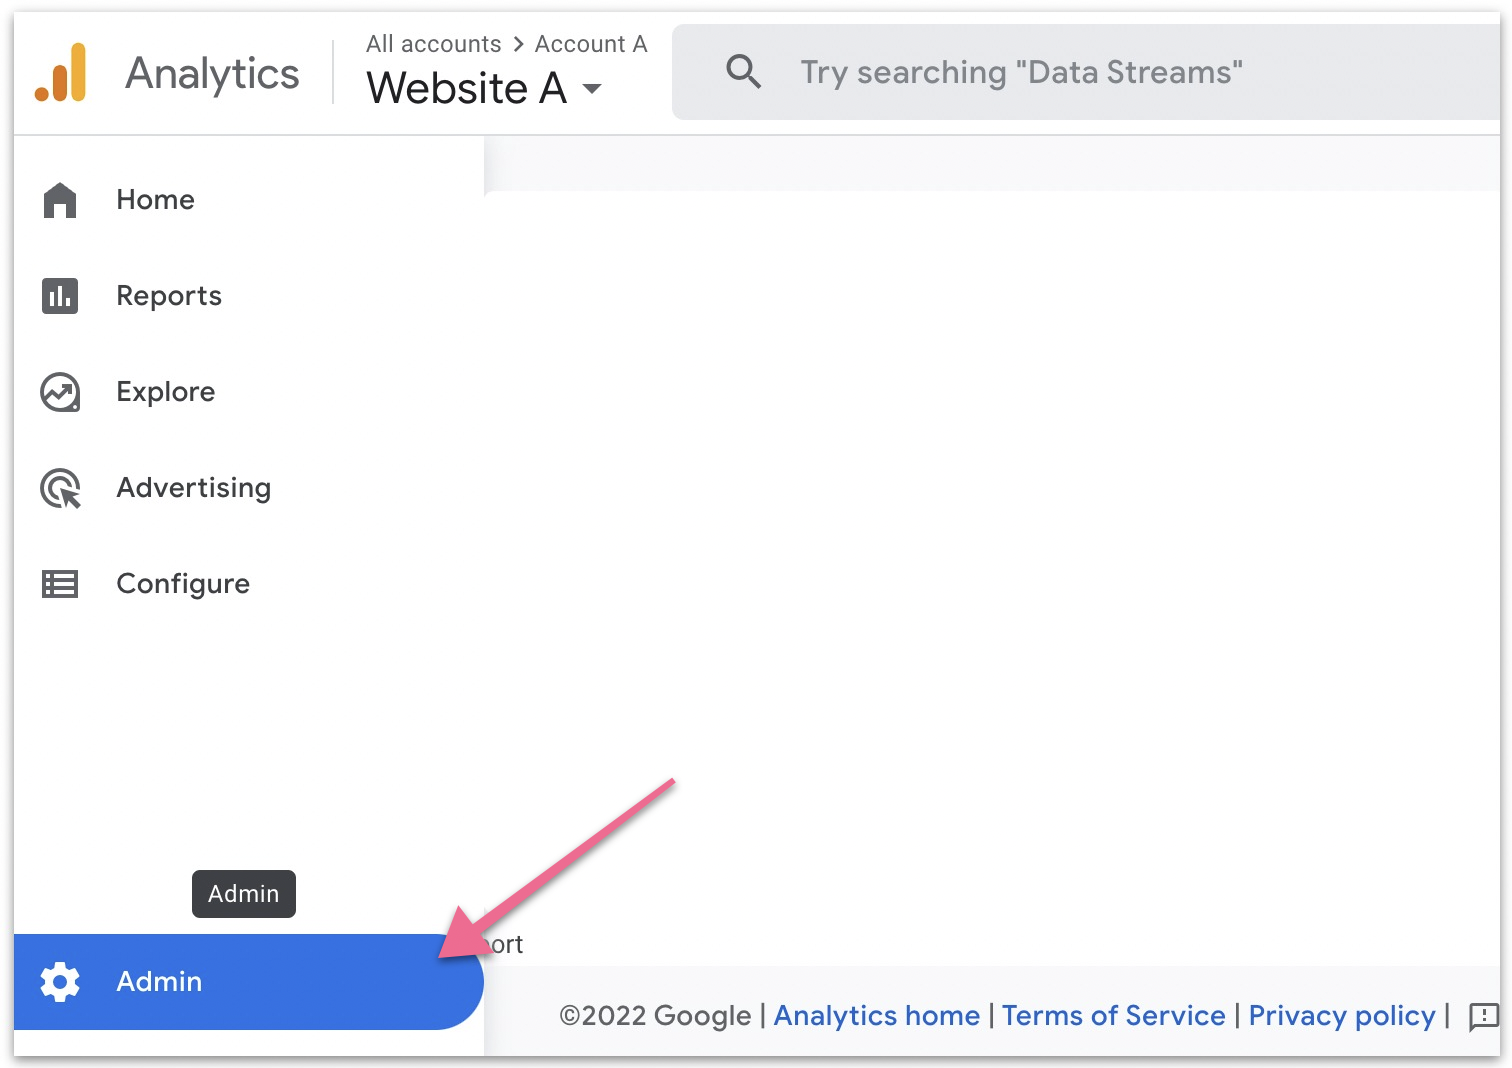
- Ensure the correct property is selected, then select “Data Streams”.
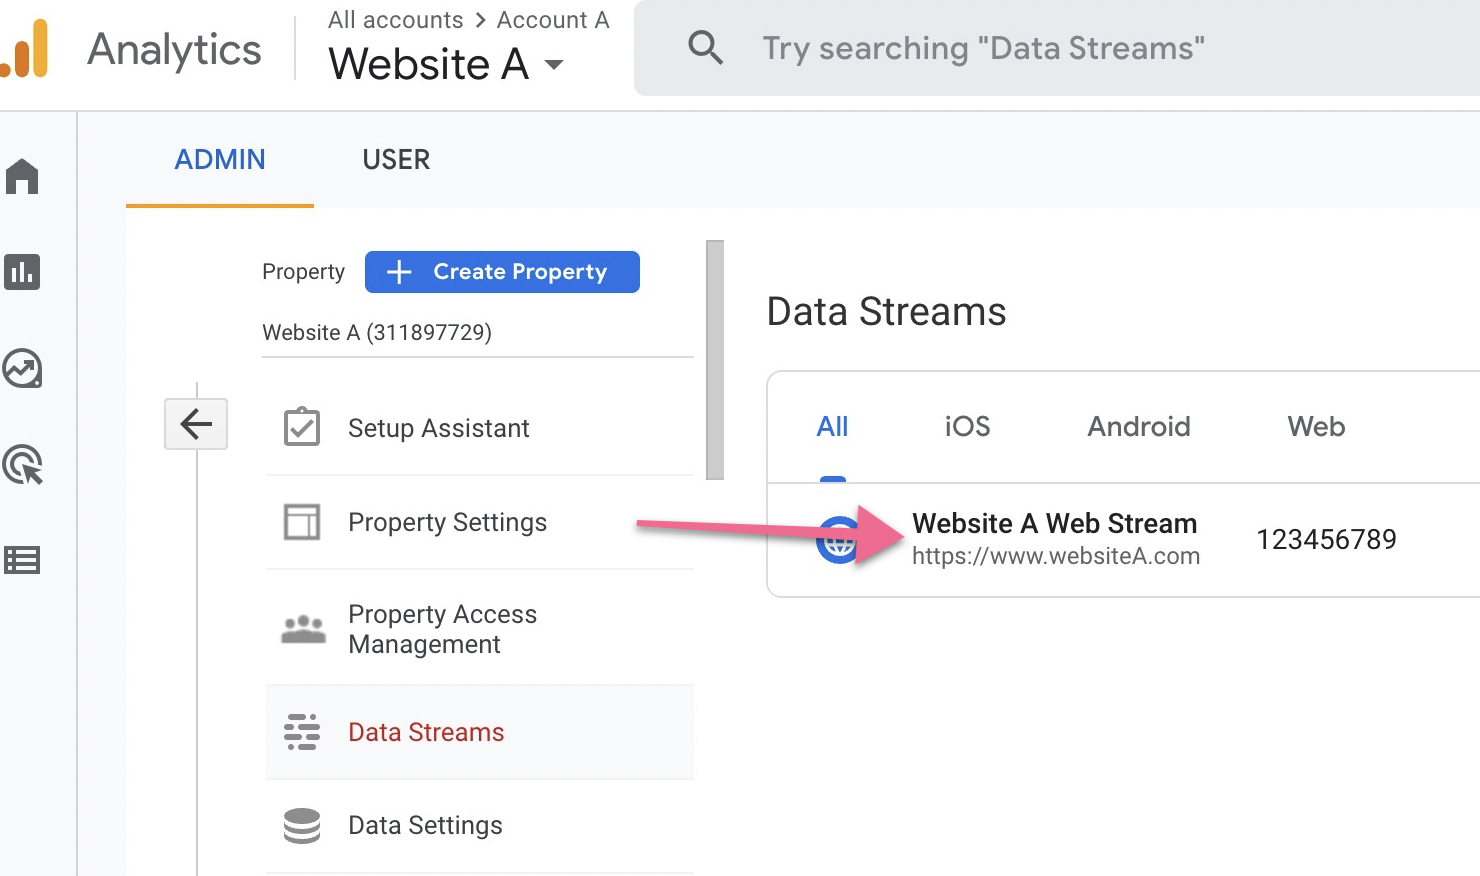
- Select your website and view the Global site tag.
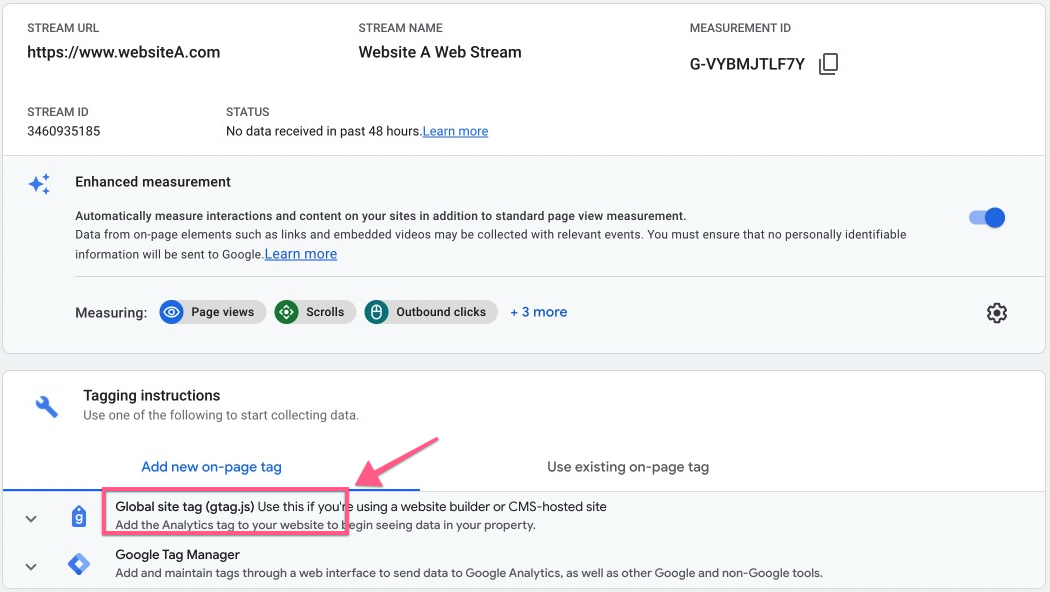
- Copy the Google Analytics 4 tracking code.

Adding the GA4 Tracking Code to Shopify
- Shopify Admin Panel
- Click “Online Store” → “Themes”.
- Click the “Action” dropdown menu and click “Edit code”.
- Click “theme.liquid” and paste your GA4 tracking code after <head>.
- Click “Save”.
Verify Your Setup Inside Google Analytics 4
- Google Analytics 4 Account
- Go to the real-time report under Report ➞ Real-time.
- Verify at least 1 active user on the website.
- Check the country of the user to ensure it matches your location.
If you see user activities on your real-time report, then Google Analytics 4 has been implemented successfully.