
Objective: Enable conversion tracking for Twitter Ads within the platform.
Desired Result: Gain insights into the conversions generated by your Twitter Ads campaigns and their respective values.
Prerequisites:
- Google Tag Manager must already be operational on your website.
- You must have a Twitter Ads account.
Significance: Understanding the number of conversions and their monetary value per ad empowers you to optimize your campaigns effectively.
Location: Configuration takes place in Google Tag Manager and Twitter Ads Manager.
Frequency: Implement whenever new conversions or websites need tracking within Twitter Ads Manager.
Personnel: Analytics or paid advertising personnel are typically responsible.
Environmental Setup:
- Install the Twitter Pixel Helper extension for Google Chrome.

Generating Your Twitter Universal Tag:
- Log in to your Twitter Ads account.
- Navigate to Tools → Conversion Tracking.
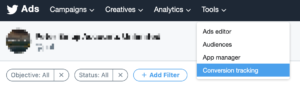
- Click “Generate website tag for conversion tracking” after you have accepted the terms and conditions.”

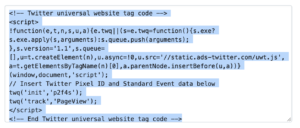
- Save the generated code for later use.
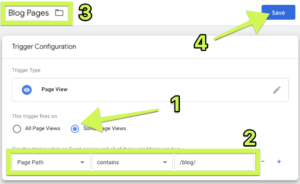
Installing Your Universal Website Tag via Google Tag Manager:
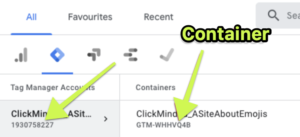
- Access Google Tag Manager.
- Choose the relevant account.
- Click on Tags > New.
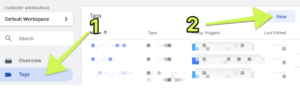
- Name your tag appropriately.
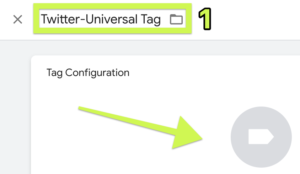
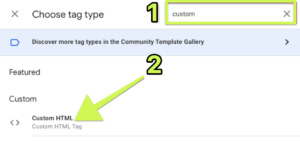
- Go to the Tag Configuration section and select “Custom HTML.”
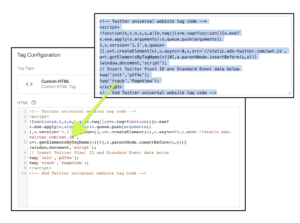
- Paste the previously saved code into the HTML section.
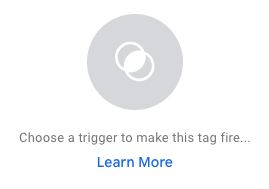
- Choose the appropriate triggering option: either “All Pages” or define specific conditions.
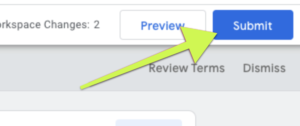
- Click ‘Submit.’
Determining Conversion Events:
- Identify the events to track based on your objectives.
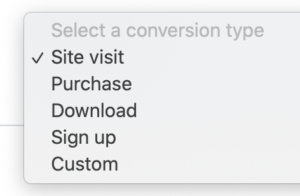
- Common events include Site Visit, Purchase, Download, Sign Up, or Custom actions.
- Most businesses track Site Visits, Sign Ups, and/or Checkouts.
Generating Conversion Events:
- Log in to your Twitter Ads account.
- Go to Tools → Conversion Tracking.

- Click “Create New Conversion Event.”

- Set up the conversion event with a descriptive name.
- Choose the type of conversion from the list provided.
- Select the Universal Website Tag.
- Specify the traffic conditions indicating successful event occurrences.
- Set the Attribution Window for accurate reporting.
Verification of Setup:
- Open your website in Google Chrome.
- Perform the action that triggers the conversion.
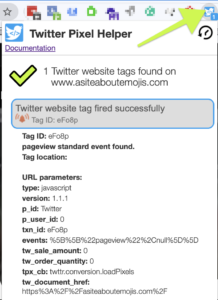
- Use the Twitter Pixel Helper extension to ensure the tag is detected.
- Verify the setup in Twitter Ads Manager under Tools → Conversion Tracking.
- Ensure the “Website Tag” status for your events shows as “Tracking.”

- If the status remains “Unverified,” recheck the triggering action and wait for updates.
- If issues persist, seek assistance from a web developer.
Share :


footer
footer 2