The objective is to construct or optimise your robots.txt file correctly.
Perfect Result: Your website has a great robots.txt file that enables search engines to index your content the way you want them to.
Prerequisites or requirements:You must be able to access the website you are working on’s Google Search Console property. SOP 020 will walk you through setting up a Google Search Console property if you haven’t already.
Why this matters: The majority of search engines will read and abide by the basic guidelines put forth in your robots.txt file once they begin indexing your website. They inform search engines of the pages on your website that you do not want them to crawl or do not require them to.
Where to do this: Google Search Console and a text editor. Additionally, on your WordPress Admin Panel, if you are using it.
When this is finished: To ensure that your robots.txt file is still up to date, you should audit it at least once every six months. Every time you launch a new website, you need to have a proper robots.txt file.
Who does this: The employee in charge of SEO in your company.
Examining your existing Robots.txt file
- Access your existing robots.txt file using a web browser.
- Note: Go to ‘http://yourdomain.com/robots.txt‘ to locate your robots.txt file. Substitute your actual domain name with “http://yourdomain.com“.
- Take http://asiteaboutemojis.com/robots.txt, for instance.
- Note 2: If you are unable to locate your robots.txt, it may not exist at all. In that case, please go to the SOP chapter under “Creating a Robots.txt.”
- Mark the following checklist and address each problem if you find it:
![]()
- The robots.txt tester for Google Search Console has verified your file.
- Note: You can refer to the previous chapter of this SOP for guidance if you are unsure how to use the tool, and then return to the current chapter.
- Don’t try to use robots.txt alone to remove pages from Google Search Results.

- Example: Blocking “/passwords” won’t cause Google to remove the page “http://asiteaboutemojis.com/passwords” if you don’t want it to show up in the search results. Most likely, this notice will appear in place of your results and they will still be indexed:
- Your robots.txt file is preventing the crawling of irrelevant system sites.
- For instance, server logs, default pages, etc.

- You are preventing the crawling of sensitive data.
- Examples include customer data and internal papers.
- Recall that disabling access in the robots.txt file is insufficient to stop such pages from being indexed. When it comes to sensitive data, those files or sites should be password-protected in addition to being taken down from search engines. Hackers routinely search the robots.txt file for sensitive information, and if no additional security is in place, nothing will stop them from obtaining your information.
- You’re not blocking essential scripts that your pages need to render properly.
- Example: Don’t disable Javascript files that are required for accurate content rendering.
- Take the following test to ensure you didn’t miss any pages after this checklist:
- Launch Google in your browser (google.com, if it’s the version appropriate for the nation you’re targeting).
- Search for “Site:yourdomain.com” on Google (substitute your actual domain name for yourdomain.com).
- For instance:
- You will be able to view the Google-indexed search results for that domain. Look through as many of them as you can to identify any that don’t match the checklist’s requirements.
Making a Robots.txt file
- On your PC, create a text document (.txt).
- If these two templates suit your needs, you can immediately copy them:
preventing all crawlers from visiting your website in its entirety:
Important: By doing this, you will prevent Google from indexing your whole website. Your search engine rankings may suffer significantly as a result. You should only take this action under extremely unusual situations. For example, if the website is not intended for public use or if it is a staging website.
- Remember to substitute your actual sitemap URL for “yoursitemapname.xml.”
- Note 2: SOP 055 User-agent: can be used in the absence of a sitemap. * Sitemap: http://yourdomain.com/yoursitemapname.xml; Disallow: /
- Enabling the full crawling of your website by all crawlers:
- Note: Although having a robots.txt file won’t affect how search engines index your website, it is still acceptable because, by default, they believe they can index anything that isn’t restricted by a “Disallow” rule.
- Note 2: Remember to include your actual sitemap URL in place of “yoursitemapname.xml.”
Sitemap: http://yourdomain.com/yoursitemapname.xml; User-agent: *; Allow: /
- These two usually don’t apply to your situation. Generally, you want to let all robots visit your website, but you only want to restrict their access to particular paths. If it is:
To stop a certain path (and its corresponding sub-paths):
- To begin, append the subsequent line to it:
User-agent: *
- Add an extra line to any paths, subpaths, or file types that you do not want crawlers to be able to access:
Disallow: /your-path for paths
- Note: Substitute the path you wish to block for “your path.” Keep in mind that every subpath below that path will likewise be blocked.
As an illustration, the parameter “Disallow: /emojis” prevents crawlers from reaching “asiteaboutemojis.com/emojis,” but it also prevents them from reaching “asiteboutemojis.com/emojis/red.”
- Regarding file types: Prevent: /*.filetype$
- Note: Change “filetype” to the filetype you wish to prevent.
An illustration of this would be “Disallow: /*.pdf$ will prevent crawlers from reaching “asiteaboutemojis.com/emoji-list.pdf.”
To prevent particular crawlers from seeing your website
- After your existing robots.txt, add a new line:
Remember to substitute the real crawler you wish to block for “Emoji Crawler.” Here is a list of crawlers that are currently in use; you can decide which ones to expressly ban. You can skip this step if you have no idea what this is.
- User-agent: Crawler Emoji
- Don’t allow: /
- Example: To stop the crawler from Google Images:
- Googlebot-Image User-agent
- Disallow: /
Including the Robots.txt file on your webpage
Two methods for including a robots.txt file on your website are covered in this SOP:
- Click here if your website is powered by WordPress and you are using the Yoast SEO Plugin.
- Note: You can follow that particular chapter on SOP 008 by clicking here if you don’t already have Yoast installed on your WordPress website.
- Note 2: You can also use the FTP or SFTP method below if you don’t want to install Yoast on your website.
- You can use FTP or SFTP to upload your robots.txt file if you’re using a different platform. This SOP does not cover this procedure. You can ask your web developer or the business that created your website to upload files to your server if you are unsure how to accomplish it or do not have access to it. You can use the following template to send emails:
“Hi,
To help the website’s SEO, I made a robots.txt file. The file is in the attachment to this email. It must be positioned at the domain root and given the name “robots.txt.”
The technical specs for this file are available here in case you require any additional information: https://developers.google.com/search/reference/robots_txt
I’m grateful.
Using the Yoast SEO plugin to add your robots.txt:
- Launch the WordPress administration panel.
- Select “SEO” → “Tools.”

- It should be noted that to see this option, you must first enable “Advanced features”:
- Select “Dashboard” → “Features” → “SEO.”

- Select “Dashboard” → “Features” → “SEO.”
![]()
- Select “Save changes.”
![]()
- Select “File Editor”:

- An input text box will appear where you can modify or add content to your robots.txt file → Copy and paste the contents of the just created robots.txt file ⇒ To “Save Changes to Robots.txt,” click.

- Open “http://yoursite.com/robots.txt” in your browser to ensure everything went as planned.
- Remember to change “http://yoursite.com” to your domain name.
- Take http://asiteaboutemojis.com/robots.txt, for instance.
- Your website ought to display your robots.txt live:

Using http://www.asiteaboutemojis.com/robots.txt as an example
Verifying the Robots.txt file
- Launch the Robot.txt test from Google Search Console.
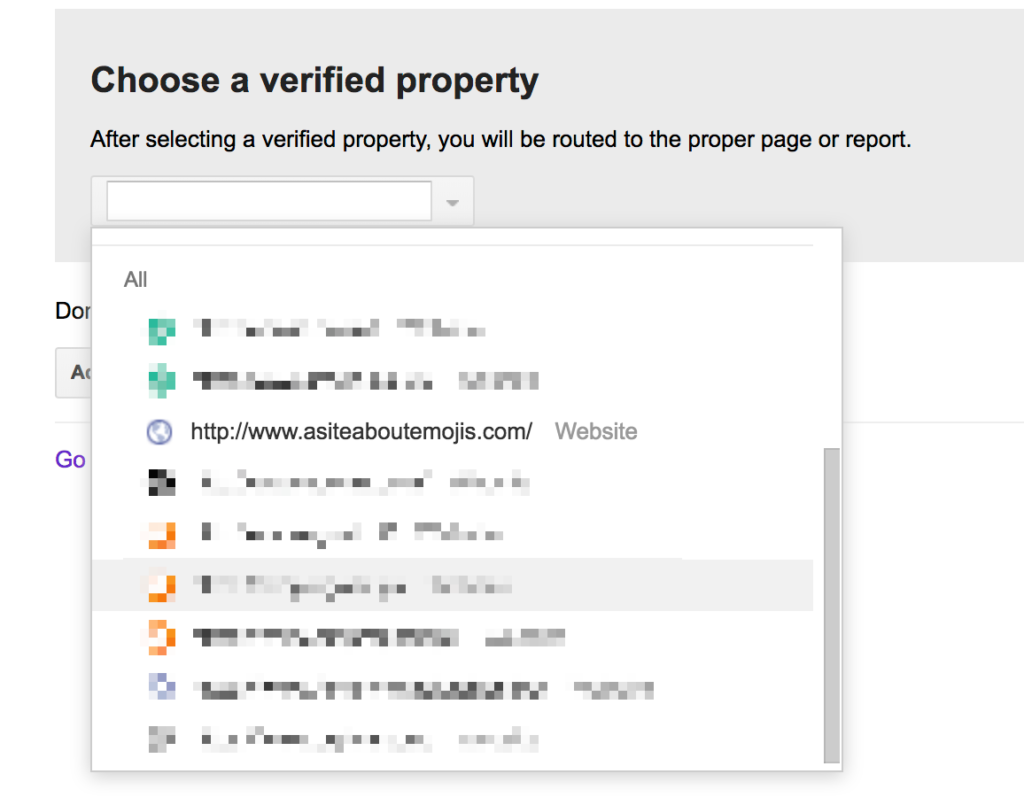
- Choose the appropriate property from those if you have more than one in that Google Account:

- The most recent robots.txt file that Google crawled will be displayed to you when you access the robots.txt Tester tool.

- Make sure the version of your robots.txt that you are seeing in the Google Search Console tool matches the one that is currently active on your domain by opening the real file.

- Note: Go to ‘http://yourdomain.com/robots.txt‘ to locate your robots.txt file. Substitute your actual domain name with “http://yourdomain.com“.
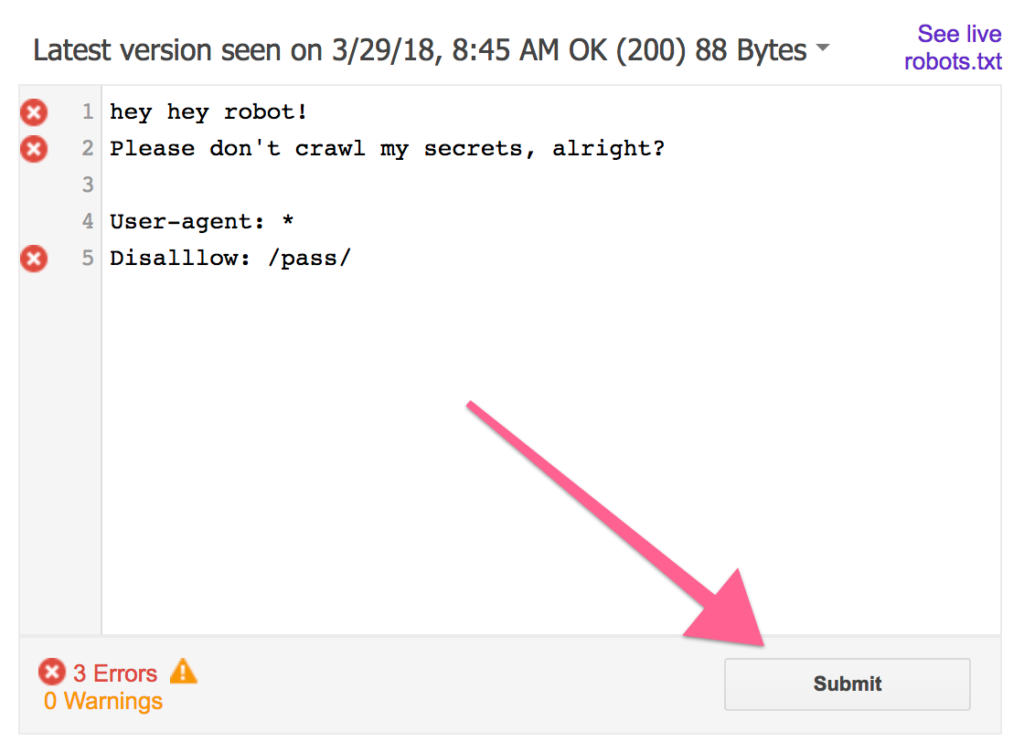
- Note: If this isn’t the case and you’re using Google Search Console (GSC) and seeing an outdated version:
- In the bottom right corner, click “Submit”:

- Once more, click “Submit”:

- To refresh the page, hit Ctrl+F5 on a PC or Cmd ⌘+R on a Mac.
- This notice will appear if your file contains no logic problems or syntax mistakes:
![]()
- Note: Errors and warnings will appear at the same location if they exist.
![]()
- Note 2: Each of the lines that are causing those problems will also have one of the following symbols next to it:

If so, confirm that you adhered to the instructions on this SOP or that your file complies with Google’s guidelines, which can be found here.
- if your robots.txt file showed no problems. By entering your URLs in the text input field and selecting “Test,” you can test them:
![]()
- Note: If your robots.txt file is blocking your URL, you will notice a “Blocked” message in its place, and the tool will highlight the line that is preventing that URL:


